
Have you ever wondered just how to transplant seedlings? Starting seeds and transplanting them is an annual ritual. Depending on what you want to grow, a learning curve might be involved. There are plants that do fine when transplanted, and others that suffer transplant shock. And there are timings to remember too.
The style of starting you use will also have bearing on how you transplant seedlings. Planting depth is also of importance. Perhaps you’ve used starter pots in the past and haven’t had success, or maybe you want to try a new method of seed starting in preparation for hardening off. There are solutions to these issues!
The fact remains that good work done in the starting process will get you on the right foot when the growing season comes. Your goal to grow delicious vegetables that provide you with good nutrition can be easily met when you adequately prepare and follow the right procedures.
So let’s discuss a few ins and outs of transplanting seedlings!
When to Transplant Seedlings
Your USDA zone and frost dates are the biggest indicators of the right time for planting new transplants. You don’t want to transplant seedlings ahead of the first frost if they are cold-sensitive, and you don’t want to plant cool-season crops just as the weather warms up. Another factor to consider is whether you want to place them outdoors or into a container indoors. Let’s cover a few tips to help you determine if the time is right.
Hardening Off
This only applies to plants that will live outdoors in your garden or growing space. You won’t need to harden off plants you plan to keep indoors. After you start seeds indoors and tend to each seedling, follow the process of hardening off individual plants before transplanting them. New seedlings certainly aren’t suited to the outdoor temperatures immediately after they sprout, so expose them gradually to the elements.
To harden them off, take your plant seedlings outdoors in the warmest part of the day for a couple of hours at first. Then bring them in. Over the course of the next several days to two weeks, increase the amount of time they are outdoors. Keep them out of direct sunlight at first, and then gradually introduce them to the direct sun so they don’t become scalded by the direct sun’s rays. Eventually, your plants will be able to stay outside overnight and will be ready for full sun conditions once you replant.
You can also harden off seedlings in a cold frame. These are great for those that need hardening off in spring. Use the same steps you did for hardening off without the cold frame, but then let the frame remain in your garden. Simply close the lid of the frame when the temperature is too cold; a good cold frame ensures good sunlight will pass through to the plant. Make sure to open the cold frame on warmer days to allow excess heat to escape. The cold frame is a great way to keep tender seedlings out of drying winds or unexpected frost.
Cool Season Timing
Cool-season crops withstand cold but don’t do well in hotter temperatures. For that reason, transplant outdoors in early spring between 2 to 3 weeks after the last frost date. This goes for most USDA zones that have distinct seasons or cold winters. In more tropical zones or those that have more warmth than cold throughout the year, start growing plants in late fall to plant in winter. Some cold season crops that need planting in late spring can also be planted 2 to 3 weeks before the first frost date. The key is to have enough time between the transplant time and any severe freezing conditions for the plant to get established.
Warm Season Timing
Warm-season crops are always planted after the last frost date in spring. They tend to live only in warm weather and produce just during that time. Many annuals are warm-season crops. Here, it’s important to aim for a replanting time of 2 to 3 weeks after the last spring frost. Gardeners in more tropical areas are better suited to grow only warm-season crops outside and can leave the cold season crops only to the cooler winter months. Those with distinct, long winters must act fast and decisively. In Michigan, for instance, there’s a lovely temperate summer where warmth-loving crops thrive. The only catch is the arctic winter that’s just around the corner. Similarly, in very hot areas, crops may not do as well in extreme heat and often finish their cycle in late summer.
In some cooler areas of the country, winter sowing allows you to have your crops ready to go and already somewhat acclimated to their climate right when the ideal time to replant occurs. This technique is really useful for people who want to maximize their limited warm-weather season.
Transplant Shock
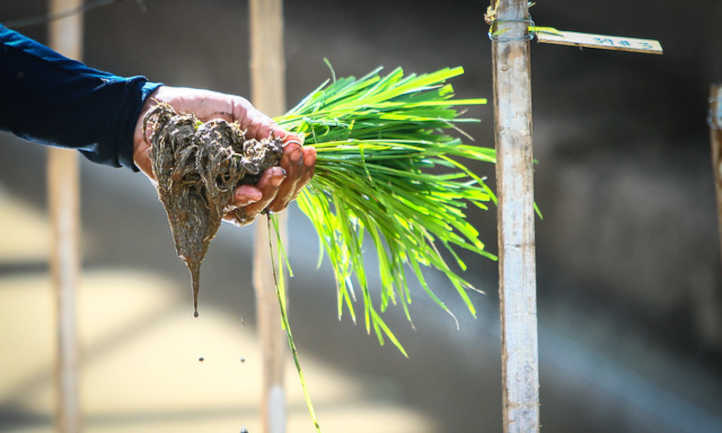
Transplant shock happens when the roots of seedlings are disturbed in the transplanting process, causing stress to the seedling. Don’t start these plants indoors. Instead, direct seed them in the garden. Be sure they are not in danger. Sometimes a frost or shade cloth at the beginning of the growth cycle is helpful. Covering them or creating a barrier to prevent animals or pests from eating them is a good idea too!
A few examples of species that are hard to replant are root crops like carrots or parsnips. Since the main taproot of the plant needs to go straight down, putting them in a starter block or cell can cause the root to twist unnecessarily. Other species just have fragile root systems that can easily be bruised during transplanting. Check your seed packet for whether your variety should be direct-sown or started in another method.
Starting Methods
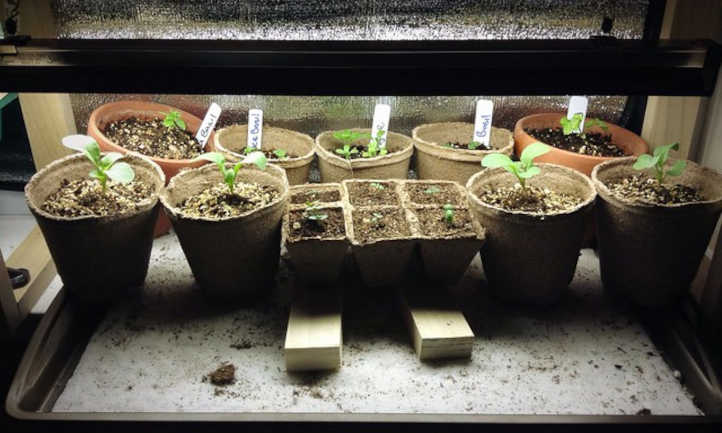
You have lots of choices as to how you want to start plants that aren’t direct seeded into the garden soil. Figure out which of these is best for you, and you’ll have more success when it’s time to transplant.
Soil Blocks
Soil blocks skip the need for seed starting pots which can result in disturbed roots when you plant seedlings in garden beds. In a starting block, potting mix is combined with elements like compost that allow for a shape to hold up without a container. The potting mix is combined with water to form a self-contained block that holds its own form either by being pressed into a soil blocker or made into a ball. The seedling growing from the soil block can be planted directly in the garden with a hand trowel when the time comes and the weather is right.
Seed Starting Cells
Don’t have a soil blocker? Consider using our Epic 6-Cell Seed Starting Trays. These cells are an excellent way to grow your seeds in a container filled with your choice of growing medium. They have a hole at the bottom which allows you to push the new transplants through, rather than having to destroy a flimsy plastic cell tray to get them out. Seedlings that would otherwise have a disturbed root ball when it’s time to replant suffer much less upheaval with these cells as well. They include air pruning slots on each side which promotes healthier root growth on your seedlings. Start your plants in these cell pots, then move them into the garden or larger containers as they grow.
Plastic Pots and Trays
If you’ve been gardening for a while, you’re probably familiar with flimsy plastic individual pots and nursery trays. Often these are paired with a heating mat and a grow light to assist with starting. Fill them with a starter mix, insert seeds, water, and wait for your seedling to grow. Remove the seedling for transplanting after it grows its true leaves and is hardened off, and place it in a hole in the ground or a pot. These work well for a seedling that doesn’t suffer shock in the transplanting process. They do, however, tend to deteriorate over time. Occasionally when you remove them from the pot for planting there is some soil left behind that you need to knock out of the container. Instead of using these for shock-prone plants, save them for those that are hardy in the root department. These are often one-use starters.
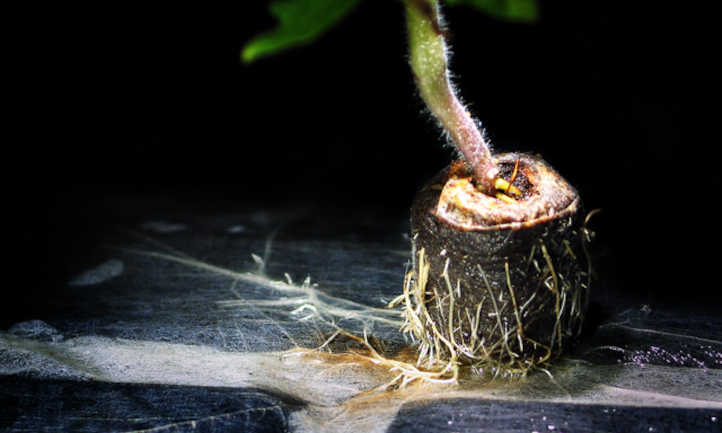
Peat Pots or Other Decomposing Containers
Another way to get around gardening with the risk of transplant shock is to use peat pots or similar containers made of coconut coir or compacted manure. These should be planted directly in the ground, pot and all. Gently tear the bottom of the pot apart before replanting to allow better access for roots. Peat is used in a lot of soil mixes and will biodegrade over time, as will coir or manure. Gardening with peat pots is a preferred mode of working with a seedling for many. Another benefit of gardening with peat pots is they retain water and keep your seedlings moist throughout their starting cycle.
Pelletized Starters
Some find kits that include pellets that expand when warm or hot water is added. These pellets become a self-containing starter cell, generally comprised of something like coconut coir contained in a fine mesh. They work very well to get seed started, but as your plants grow they’ll need to be upgraded to a much better medium over time. When using these, use a sharp knife or pair of scissors to cut away the mesh before planting, as the mesh won’t decay as rapidly as the rest of the pellet will. If the roots are already going through the mesh, cut lines down the sides so the mesh can expand outwards during growth.
Temporary Transplanting Tips
Perhaps you have to do some plumbing in your garden, and the hole you need to dig to access the plumbing is right below the roots of an established shrub or other species. In that case, move the established shrub, tree, or bush to another area. Note that it’s possible the move could cause shock, so keep an eye out for that and be gentle as you move it. Carefully dig a perimeter in the soil around your established flora to get an indication of the size of the root mass. Prepare a planting hole that is at least a few inches wider than the size of the plant’s root ball.
Select an area that has adequate sun or shade and ensure that you have soil that is appropriate for the plant. Remove any stray weeds. Depending on how long it will be there, you may want to include some fertilizer in the hole. Place the root ball in the hole, and replace the soil around the space between the hole perimeter and the stem. Make sure there are no exposed roots, and that you are planting in the right weather as it’s typically best to transfer plants in temperate seasons. After you move it, water it in to secure it in place and to add soil moisture to encourage root growth.
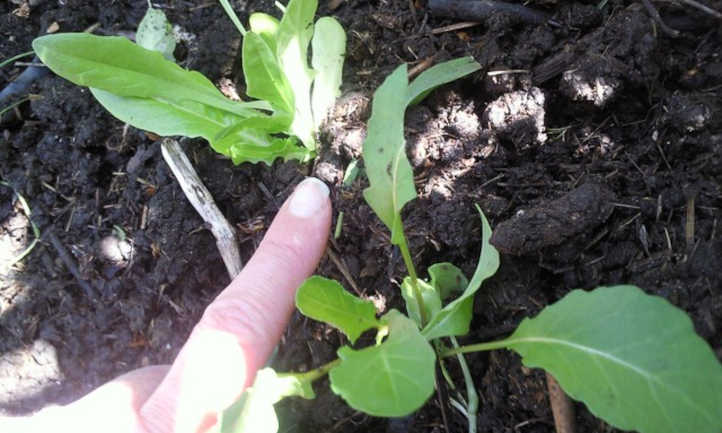
In-Ground Transplants
For those seedlings that go directly into the garden, use a trowel or shovel to dig a hole large enough to fit the entire contents of the cell, starter pot, or block. If you’re working with plants like tomatoes or flowers, add a little fertilizer in the hole appropriate for that specific plant. Remove the starter pot if needed by tipping the pot upside down. Nestle it below the soil surface and move the soil around the stem securely. Make sure the tips of roots are covered and add water to keep the soil around them moist. Another way to keep the soil moist is to add a little bit of mulch to the surface. Check newly placed seedlings every few days to ensure they’re doing well in your garden.
If using a coco pot, peat pot, or manure pot, those starts can be planted in their pot. Be sure to break open the bottom of the pot to allow the young roots free access to the soil beneath the pot. In time, the rest of the pot will deteriorate into the soil, but you want to make sure that the root system has no impediments to growth.
Transplant Depth
One important thing to note when gardening with transplants is how deep to place a seedling. This is very different for different plants. For instance, trees should not be planted at the same depth as peppers. They have different root systems and different depths for planting. Trees should be planted at the same depth as they are in their starter pot, being careful not to cover any graft joints. In contrast, pepper seedlings can be placed with their stems buried all the way up to the lowest set of leaves if desired, as like tomatoes they’ll produce additional roots along their stems. Do a little research to look for insight on how to transplant your particular seedling before you start.
Container Transplants
If you live somewhere with a short spring and summer, consider growing some of your plants in the garden for part of the season and then move them indoors. In this case, containers are essential. Plants like tomatoes do well in heat, but toward fall or late fall, a tomato plant doesn’t have an easy time. Consider planting them in a container where they can be in the garden for part of the season, and indoors for the rest. The same process outlined in the previous section goes for a container garden. Prepare the hole large enough to fit the seedling. Then plant it.
Note that the depth you replant applies just the same for containers as it does for in-ground plantings. Don’t go too deep or shallow! Also, if you’re dealing with a perennial that will be around for a while, it may be easier to keep upgrading the size of its planter over time rather than to have a tiny seedling in a huge planter. This reduces the risk of overwatering, too; less soil means less wet conditions for a young seedling.
Frequently Asked Questions
Q: How big should seedlings be before transplanting?
A: It depends on the plant. One way to know seedlings are ready for the garden is to look for at least a few fully-developed true leaves.
Q: How do you transplant small seedlings?
A: Seedlings are tender and should be handled with care. To avoid disturbing the roots, use peat starters, starter cells with large holes in the base, or soil blocks. Containers that decompose also prevent root disturbance.
Q: How long can seedlings stay in trays?
A: It depends on the vegetable or fruit you are growing. Most are ready to be moved after a few weeks. Look for the plant to have at least a few true leaves, and be sure they’re hardened off to the outdoor conditions or are otherwise protected from inclement weather.
Publicaciones relacionadas:
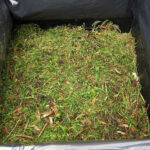 Cómo usar recortes de césped en el jardín
 Zapote Mamey: Una Delicia De Bayas Tropicales Gigantes
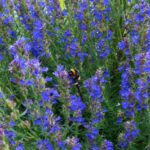 Hyssop Plant: hierba encantadora y señuelo polinizador
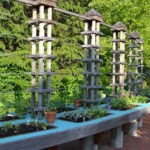 Ideas de enrejado de cama elevada para ahorrar espacio
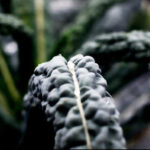 Cómo cosechar col rizada: cortar y volver
 Sansevieria Ballyi Care: cultivo de plantas de serpientes enanas
 Harina de huesos: esto es lo que debe saber
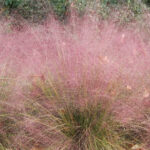 Muhlenbergia Capillaris: Algodón De Azúcar En El Jardín